Hexo添加Algolia搜索
GitHub项目地址:https://github.com/LouisBarranqueiro/hexo-algoliasearch
参考文章 https://segmentfault.com/a/1190000019340523
https://butterfly.js.org/posts/ceeb73f/
博客自带的本地搜索功能普遍鸡肋,建议换成algolia这个强大还免费的搜索系统
博客目录执行命令安装algolia
npm install hexo-algoliasearch --save |
Algolia 登陆页面 https://www.algolia.com/users/sign_in,可以使用 GitHub 或者 Google 账户直接登录,也可以注册一个新账户。
注册后的 14 天内拥有所有功能(包括收费类别的)。之后若未续费会自动降级为免费账户,免费账户 总共有 10,000 条记录,每月有 100,000 的可以操作数。免费版对于一个博客来说也是足足够的了
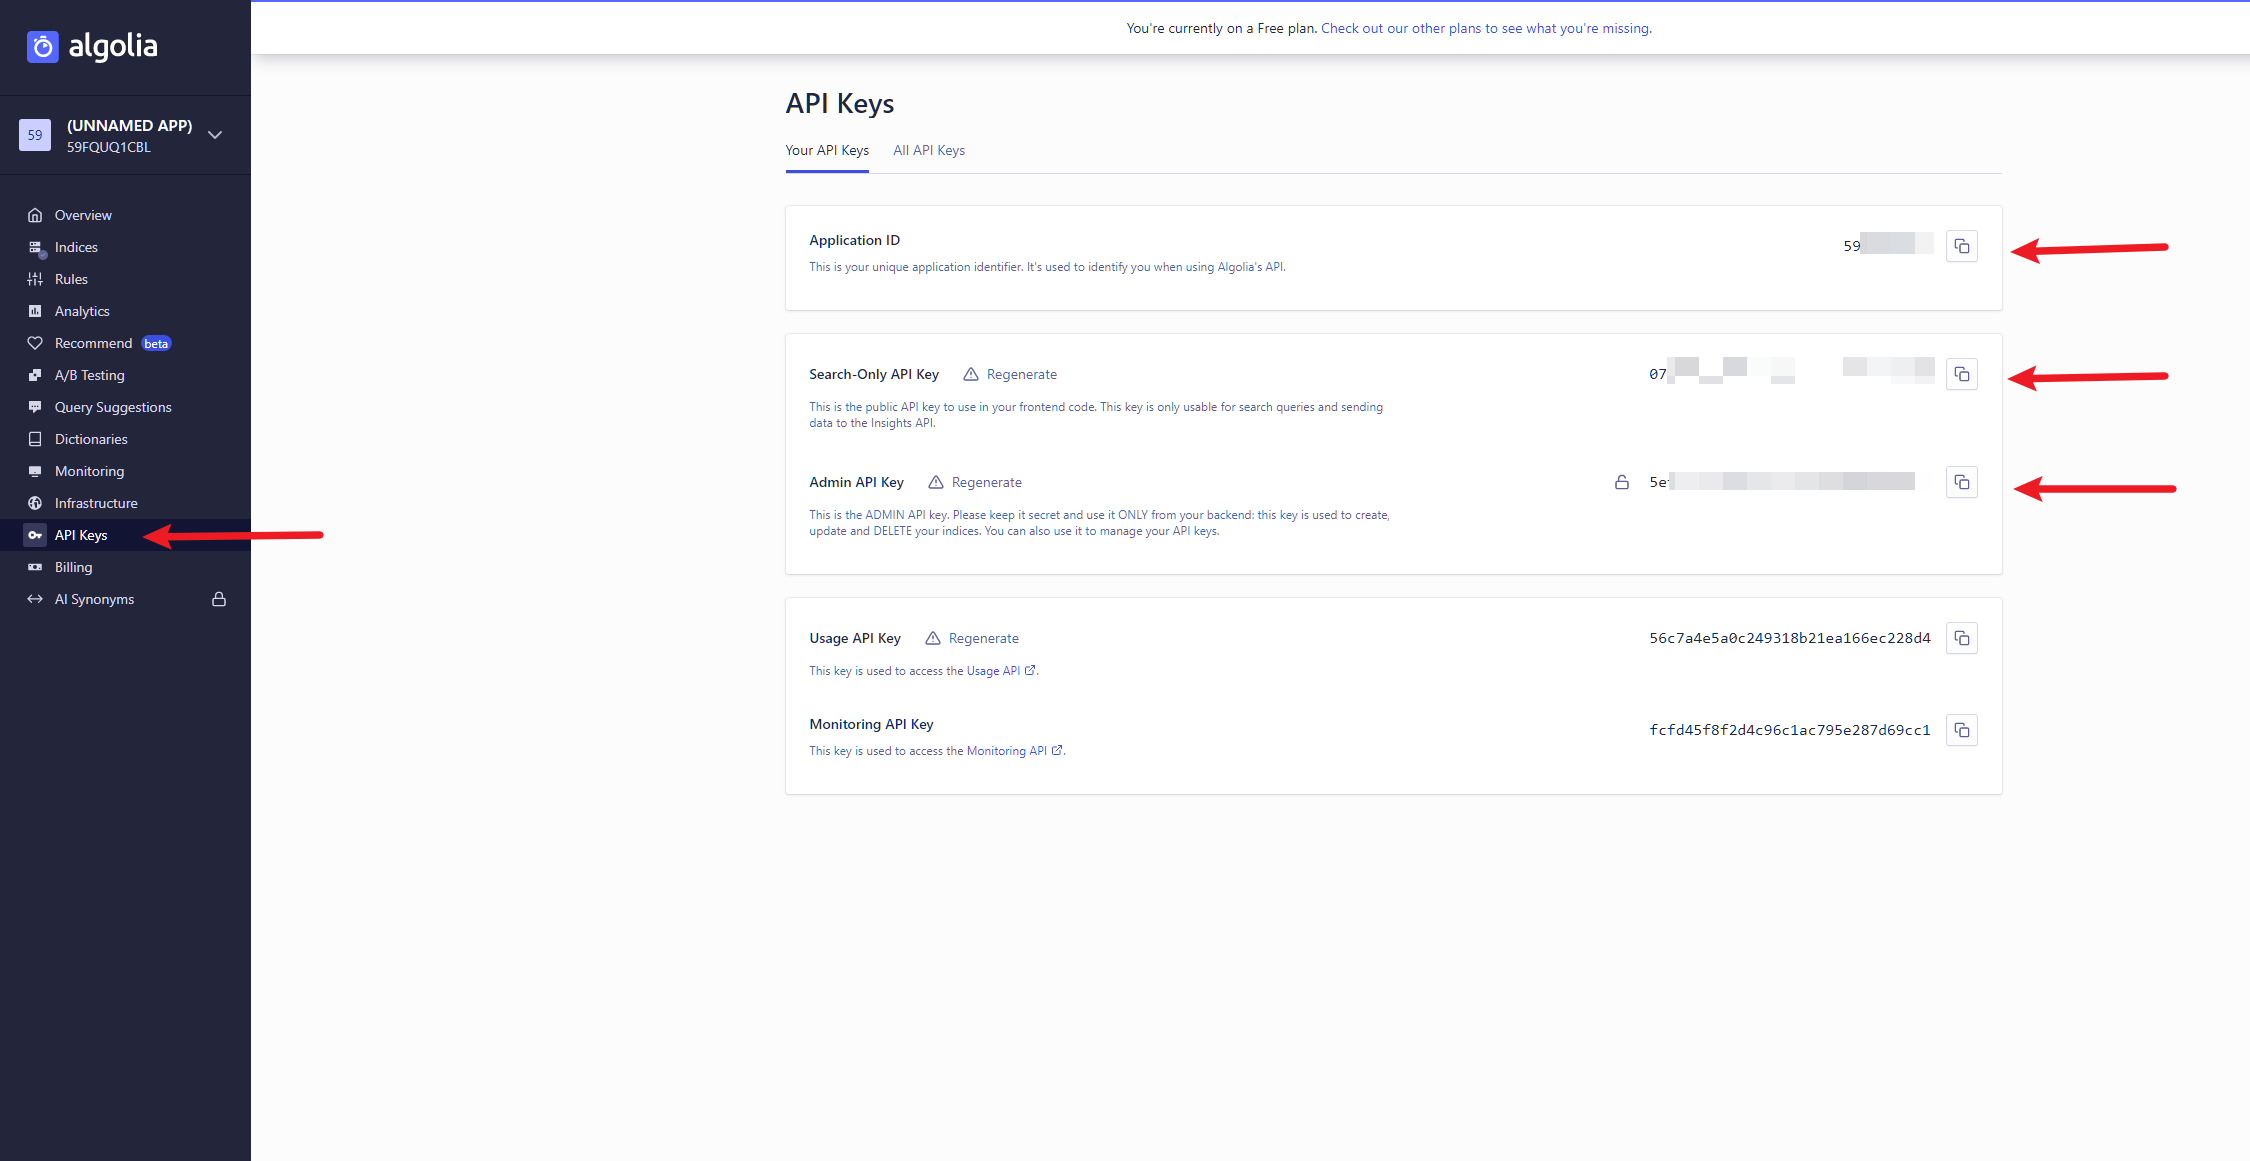
登录以后,创建一个新的 Index,这个 index name 之后会用到,要记住了
选择API Keys,然后复制并保存Application ID,Search-Only API Key 和 Admin API Key
GitHub文档给出的是以下的fields,我没有用到,就使用了其中几个
自行替换其中的appId,apiKey,adminApiKey,indexName
algolia: |
ednovas的配置
自行替换其中的appId,apiKey,adminApiKey,indexName
algolia: |
然后执行命令
hexo algolia |
如果遇到报错,先hexo clean, hexo g 再执行 hexo algolia 然后再 hexo d
然后修改主题配置文件(根据自己的情况自定义)
algolia_search: |
All articles in this blog are licensed under CC BY-NC-SA 4.0 unless stating additionally.

Related Articles


Comment